
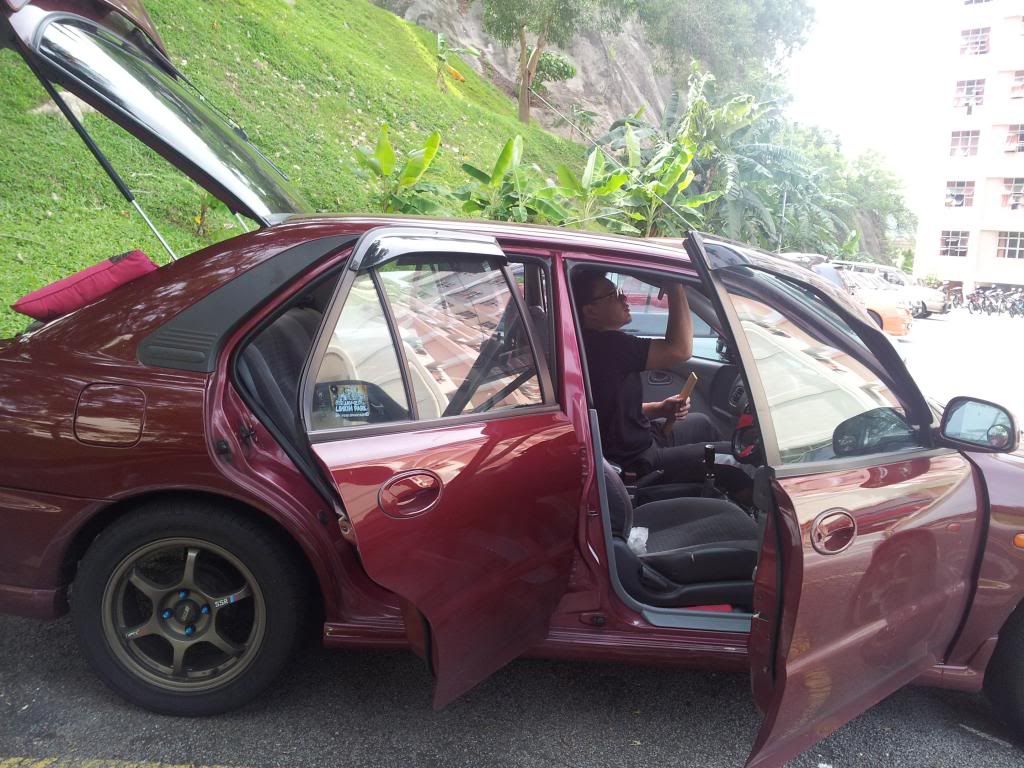
We meet again for yet another DIY session! This time around, what I did was I soundproofed the roof because I am still not satisfied with the fact that I have not done the roof. Plus, when it rains (especially the heavy ones), the roof will produce the 'Tak Tak Tak' sound, forcing me to shout in order to talk to my friends riding with me.
Previously, I did all four doors in January last year. The result was satisfying - solid door thump, less outside sound intrusion and better sound reproduction.
A special thanks to Along for taking the photos in this post and for helping me take out and put the roof back in! (Y)
Here are the things that you'll need:
1. Phillip head screwdriver
2. Flat head screwdriver
3. Deadening material (for this DIY, I'm using a local brand)
4. Forceps (optional)
5. Cutter
6. Measuring tape (I used A4 paper in lieu of this to measure)
7. Masking tape (optional - used to hold the screws in its place so that I won't have to put them in a small box or sth).
8. Plank - to even out the deadening material's surface so that it sticks firmly.
Next, here is the step-by-step procedures which I'll try to simplify.
Note: To take off the roof, start from the front to the end. To put it back in place, start from the back to the front.
Step-by-step guide:
Taking off the roof trim
1. Starting from the front, unscrew the sun visors and rear mirror, along with the roof handles, to the back of the car.Note: You can use the masking tape to secure the screws in place, so you'd not be afraid of losing them (optional)
2. For the driver's side where the roof hand should be, there are 2 clips - take them off gently, prying with the flat head screwdriver, then using forceps to GENTLY pull it off. You have to be extra careful with this as it could break.
3. Pull the A-pillars to reveal a small pin, pull it out and put it somewhere safe.
4. Pull the B-pillars and do the same thing as in (3)
5. Pull the C-pillars and do the same thing as in (3)
6. On the roof trim, pull the pins out the same way as in (2); GENTLY - there are 3 pins on the roof trim.
7. Unscrew the room lamp in the middle
8. Get a friend to help you pull the roof trim out. If you're working under a tree, make sure to cover it - risk of bird droppings.

Applying deadening materials
1. Clean the surface of the roof if necessary - I skipped this step 'cos it's already clean.2. Measure the spaces in between, then cut the deadening materials accordingly.
3. Knock the roof first, then compare when you're done. Remember how the sound is like then compare when you're done.
4. Make sure the deadening material is spread even and sticks firmly on the roof - use the plank (cheapskate)
5. Repeat until you cover the whole roof. Take selfies if possible. Hey, it's not every day that you take off the car roof trim!
Note: it is better to cut the deadening materials and paste it in a piece wise manner to make it easier to handle.
Putting back the roof trim
1. Again, get your friend to help. Belanja him makan later.2. Reverse the steps in 'Taking off the roof trim', as in literally from Step 7 to Step 1 - This is called cheating or plain lazy. Hahaha
Aaaanndddd....you're done! Now wait for the rain to fall, then quickly go into your car and take it for a ride, have a conversation in your car without any annoying sound from the roof!
The whole process took me about 2 - 3 hours to complete and as with the other DIY sessions, it leaves me feeling accomplished.
Here are some pictures for reference. Credit goes to Along.
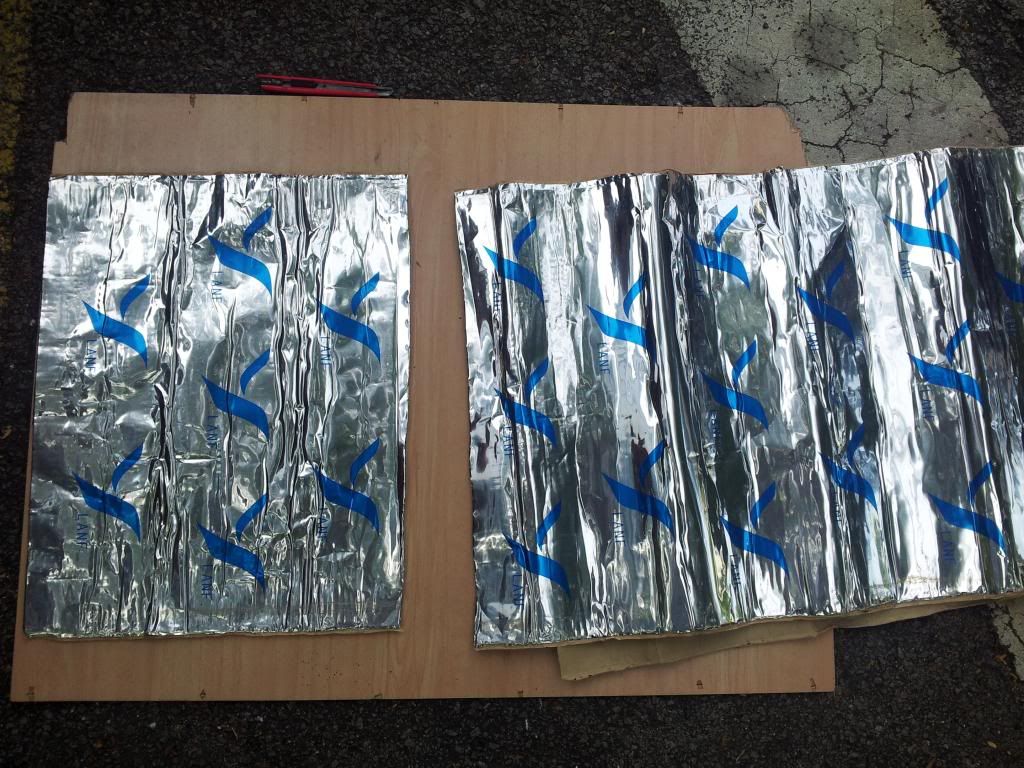 |
| The deadening material (LANF Brand). Last time I used Kewei. |
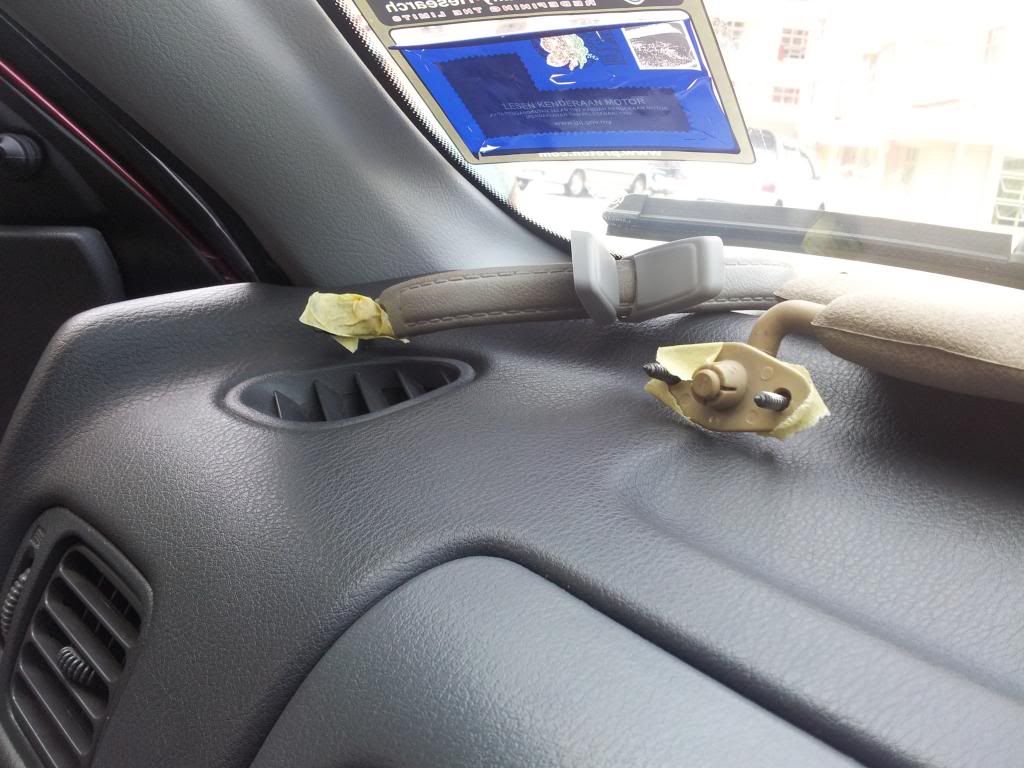 |
| Securing the screws in place, one hole at a time. |
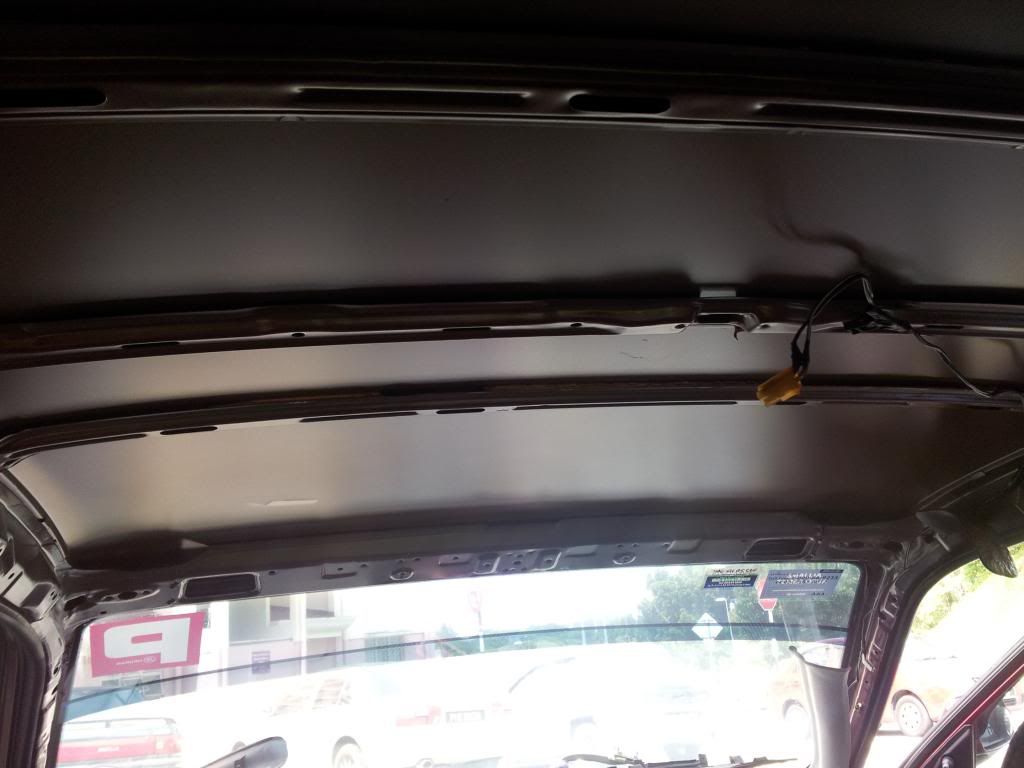 |
| The empty roof. Not anymore! That's not my P sticker by the way. It's hers. |
 |
| Putting the first deadening material on! |
 |
| It's like playing with a large sticker - only heavier |
 |
| Did this DIY project at my hostel during study week. Prevented a few cars to park in the empty spot nearby in the process. #yolo |
 |
| Use the plank to even out rough surfaces, also to make it even. |
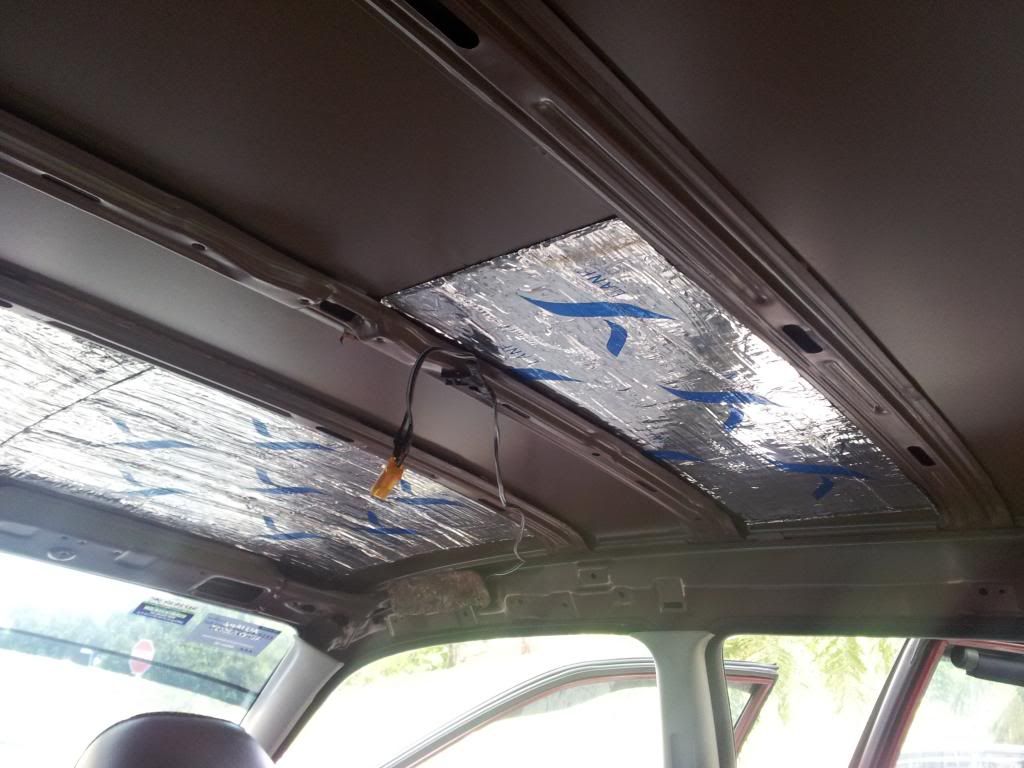 |
| Little by little... |
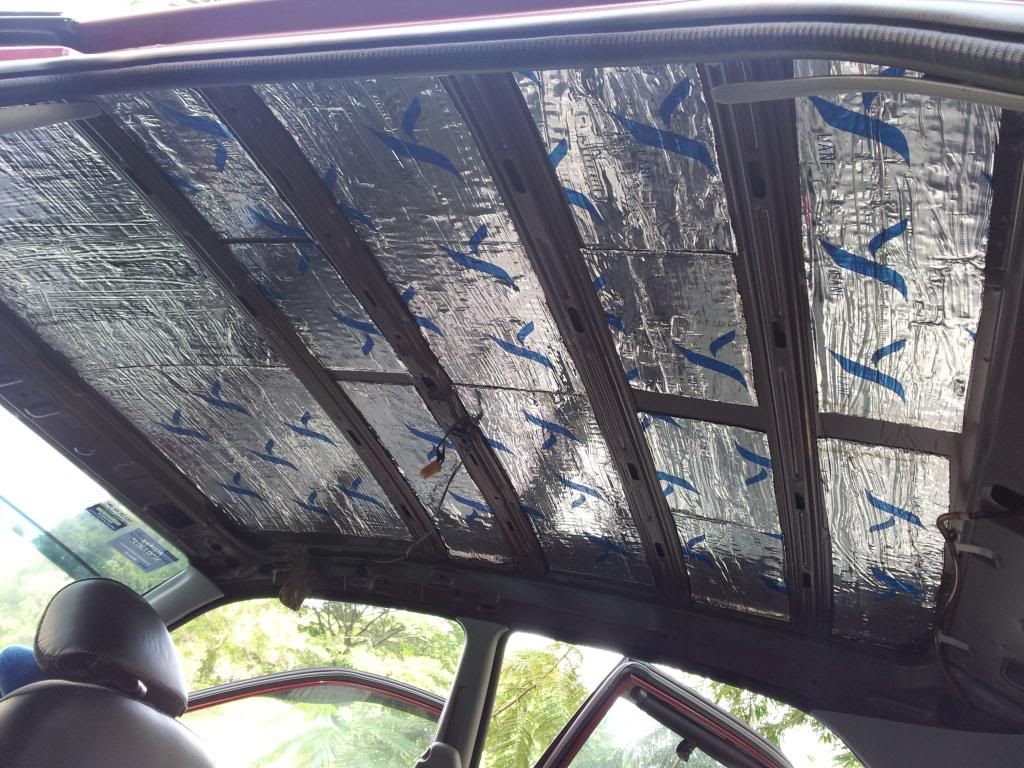 |
| ....and done! I covered up the gaps with the extra deadening materials I have in hand |
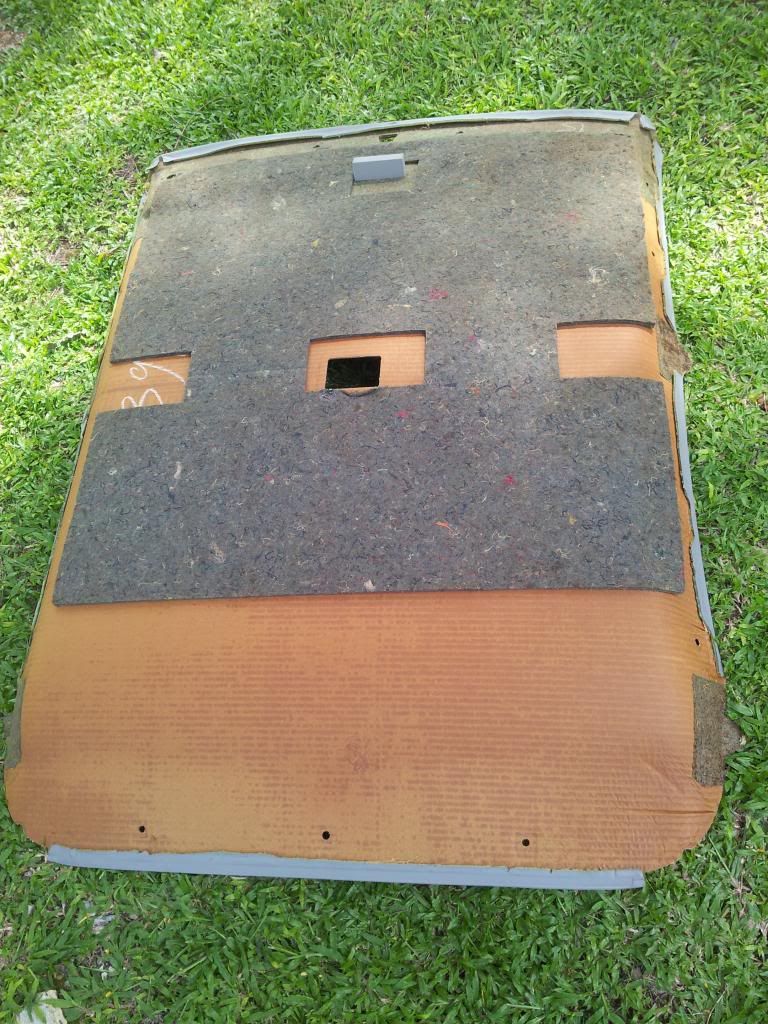 |
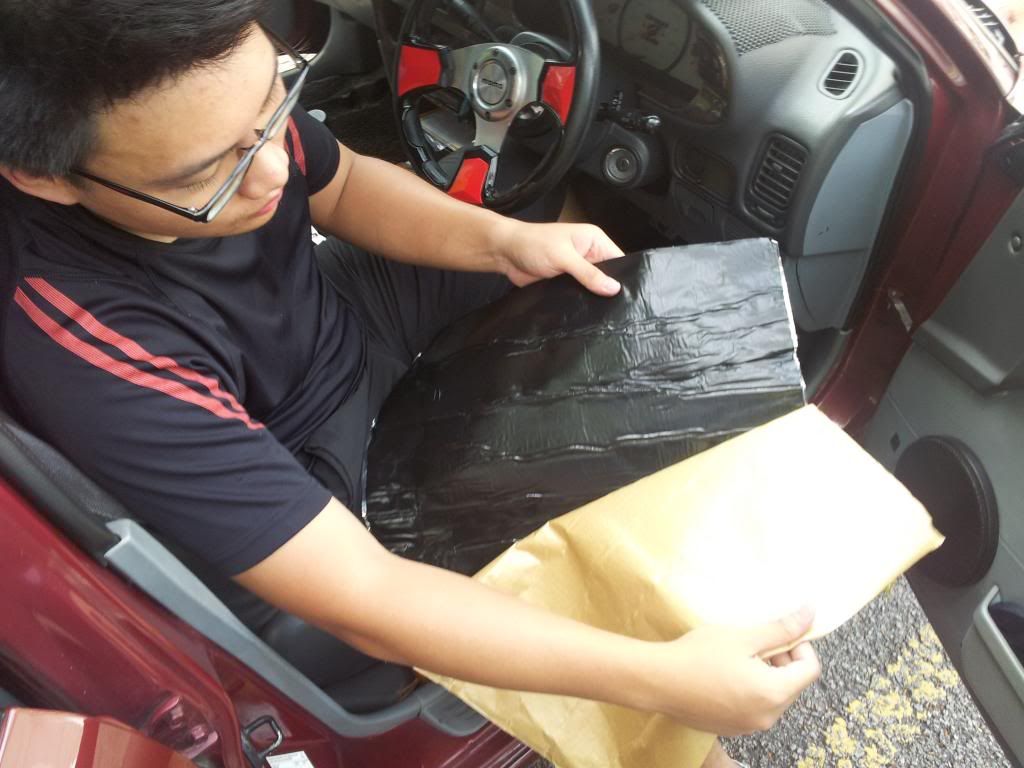
| The roof trim with some soundproofing+insulation materials. it's made up of cardboard. |
1. This will be my last major DIY, for now. If there are any changes in the future, for sure I'll be updating it here.
2. If you have money, it's better to send it to an Ah Beng shop and skip all the trouble. But, you won't get the same feeling when you do so as opposed to DIY

3. If you have any questions/comments, feel free to do so

4. I just like smileys. That's why I put them here. Hehe
Ends.
hi there mr.daniel,
ReplyDeletei wanna ask, where do you get your soundproofing material (LANF/KEWEI)...?
Hi sayyid,
DeleteSorry for the super late reply. My blog has long been inactive. I got mine from Lelong.com.my. Maybe nowadays you can try lazada or even alixpress.
Cheers!