
Salam, Greetings!
Humans were, are and never will be satisfied with what they have. They would always want more out of something....and I'm a human myself, in the flesh.
In an effort to reduce Wiwi's ( the name- my friends came up with it lol) NVH, I decided to do this, after referring to again, a few blogs and forum threads, as a safety measure and to be really sure of what I'm doing.
Materials needed:
1. Insulflex
2. Insulflex Adhesive / Dunlop Contact Adhesive.
3. Proper tools - screwdriver, cutter, scissors, etc.
4. Deadening Material (for door frame interior. e.g. Dynaudio, STP, Deadening Japan)
What to do?
Breaking it down to simple steps, because I'm feeling rather lemau today.
1.Unscrew everything on the door trim - for Wira there are 4 points to be unscrewed.
2. Carefully detach the door trim - be careful of the front speakers ( if any)
3. Take pics if necessary, just in case you forgot lah.
4. Peel of the plastic cover behind the door trim, wipe everything using a damp cloth
5. Cut the insulflex, following the shape of door trim, don't be afraid to be generous with the insulflex glue, spread evenly
6. Whilst waiting for the door trim to dry, cut the deadening material and paste it to the interior part of the door frame. Use woodblock to spread evenly.
7. Reverse the methods from 1-4, done.
Congrats, now your doors are acoustically inert. 
That's it!
The Result?
-Quite satisfied with the result for a DIY thing...of course la not comparable to the ones from a workshop, kan?
-Lesser other vehicle-related noises, noticeable when motorcycles pass by my side when on the road.
- Better sound reproduction, 'cos literally you're turning your doors into a large speaker. better ICE (in car entertainment)
Here's some pics for reference.
 |
| before and after |
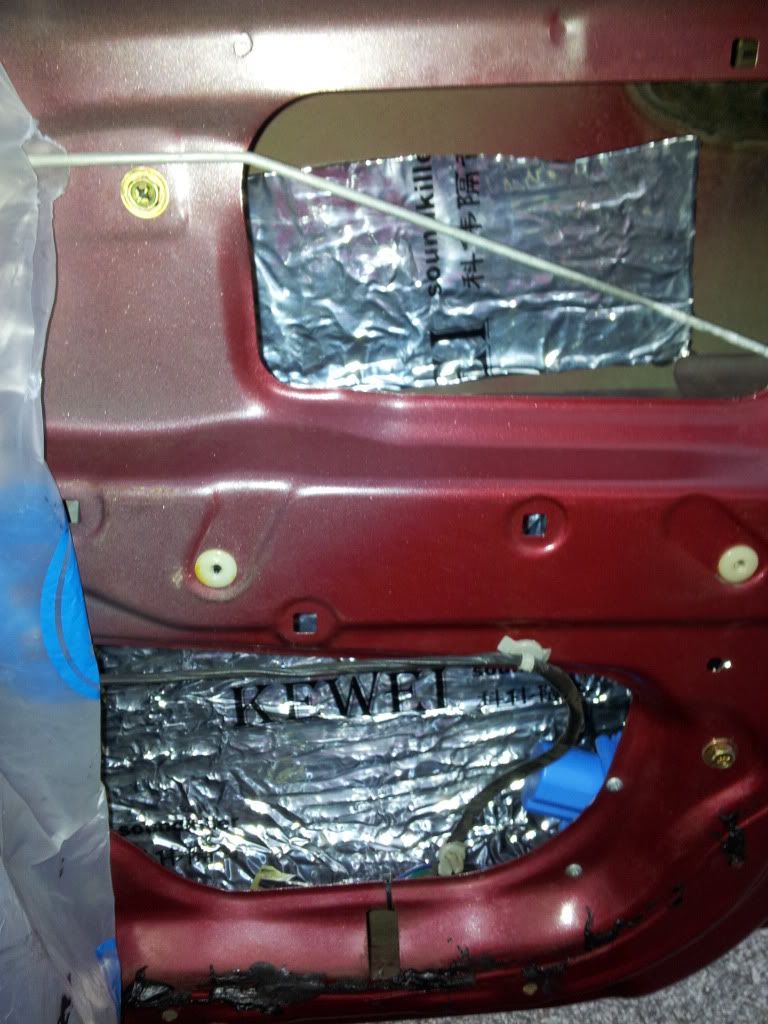 |
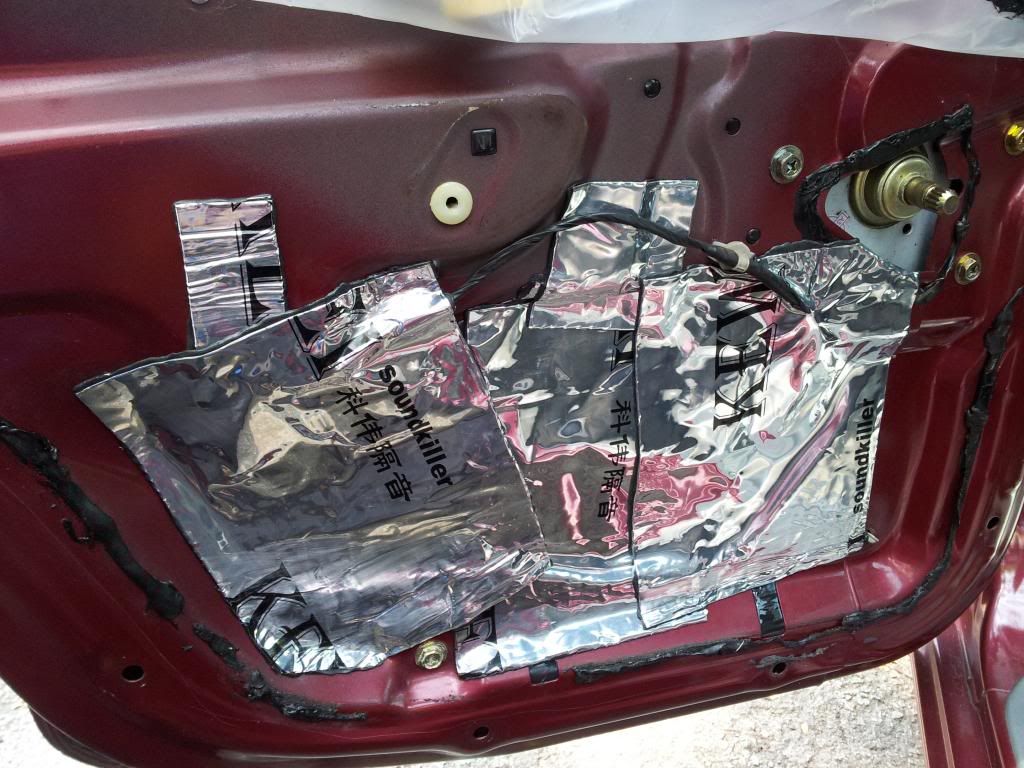
| El cheapo soundkiller! |
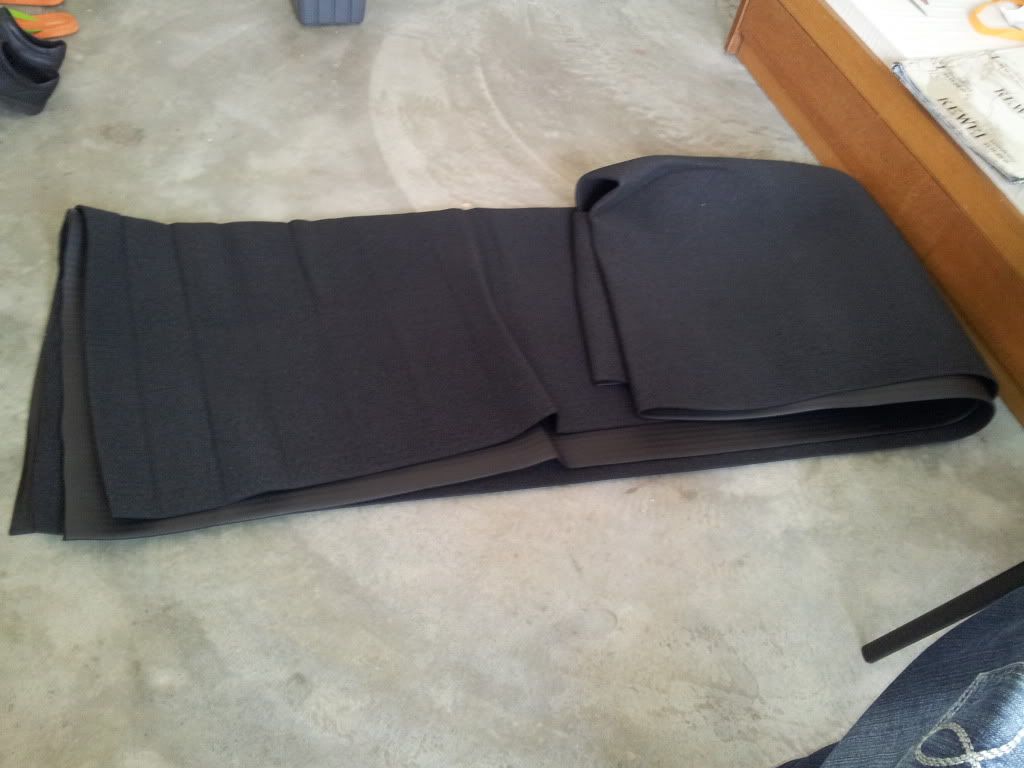 |
| Insulflex material - enough to cover the car floor also. |
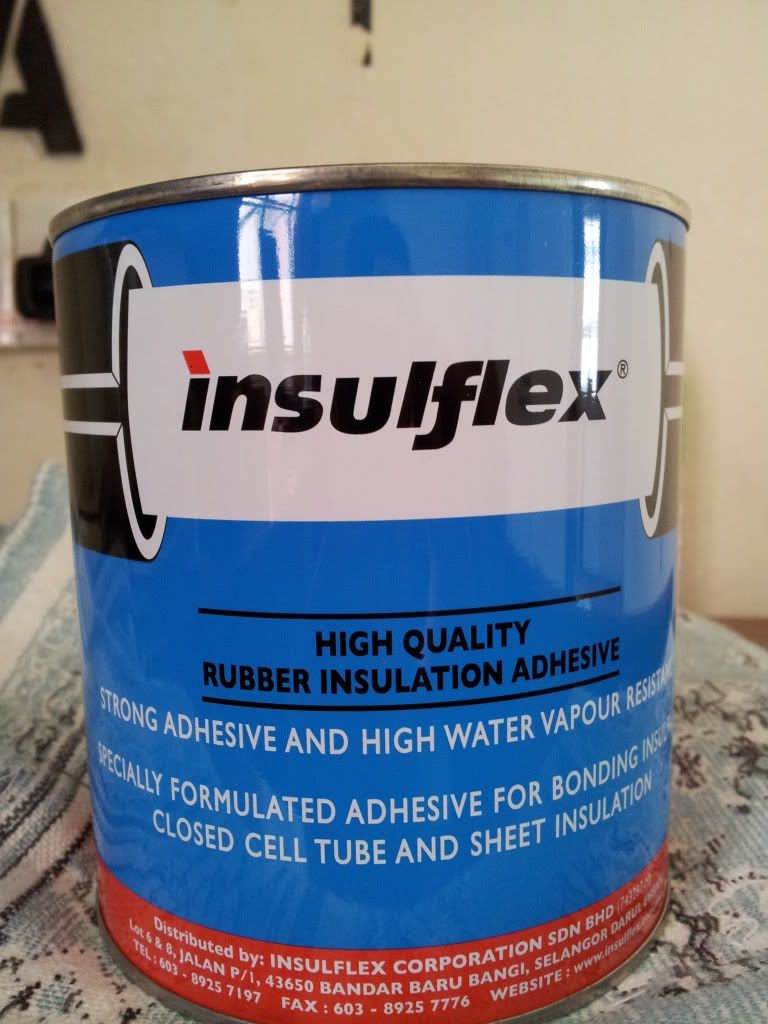 |
| You don't want to get high with one of these - get a Dunlop glue; they're stronger and cheaper, too! lol |
[UPDATED 3/3/2013]
Here are a few photos - I did this some time ago after this entry has been written. Quite tiring also. I think the most difficult part was dismantling the manual window pulley (I don't know the exact name) as it has a clip that attaches it to the door panel. Took an average 1 hour something JUST to get it off and on!
I covered the big hole in the door, so as to make the door more solid. Now it shuts with a 'thud' sound, and a quieter cabin is in place. Satisfied!
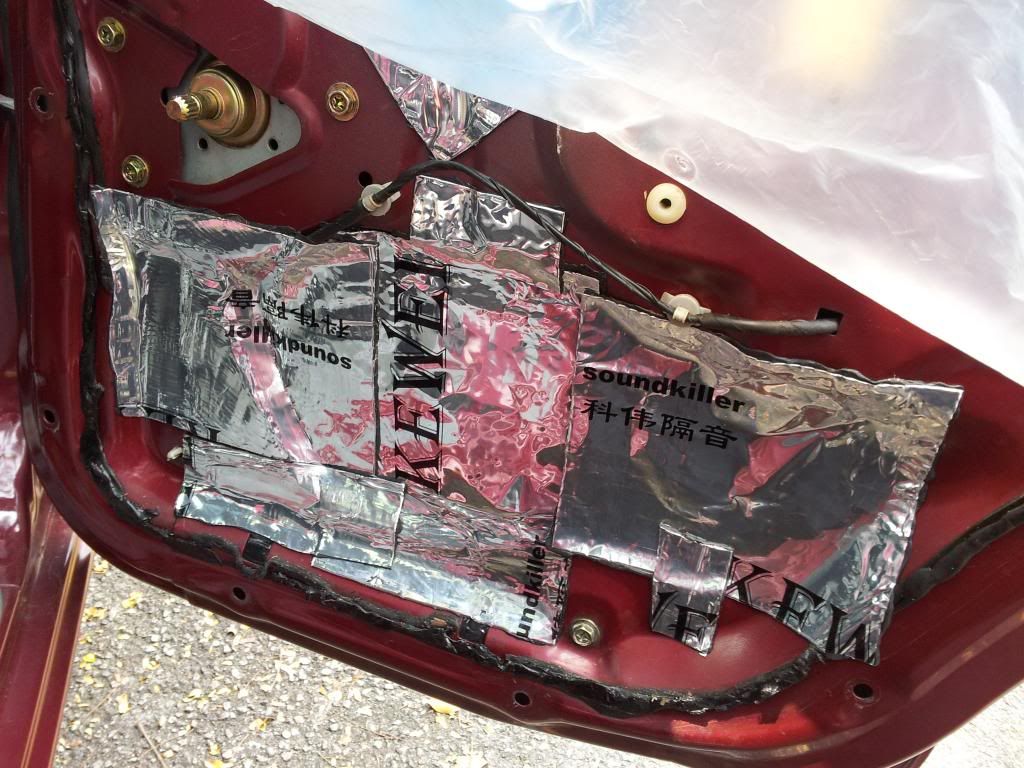
Right door done. Penat dohhh
 |
| Left door done. Now I'm happy! :D |
[UPDATE 31/12/13]
Checked the deadening materials after one-year, and they are in a good condition, same as the first day I started this small diy project albeit there are some dust which is normal. I checked on it 'cos apparently there are some forumers who did the same thing, had their deadening material melted after being baked in the hot sun (they parked their car under a hot sun). I do, too..that's why I'm tad worried. Everything's okay as long as you don't use bitumen strips as a cheaper substitute for a proper deadening material. If not, you'll have to be ready to face the music lorr...
*FOR WIRA ROOF SOUNDPROOFING STEP-BY-STEP INSTRUCTIONS, CLICK ME!*
Nota kaki:
1. NVH - Noise Vibration Harshness; a term used in the automotive world as well as motorheads to describe the quietness of a vehicle.
2. If you're using Dunlop CA as a cheaper alternative, get ready to get high whilst in your car - strong smell that lasts for days on end!
3. Everything could be found at mudah.my or lelong.com.my. Set aside some greens lah of course.
4. For further questions, there's the comment box. 
Ends.
No comments:
Post a Comment