
Here's another diy project that I've done yesterday, as the title denotes. Had to replace my three-year old head unit due to its high sensitivity towards mobile phone signal regardless of how far I place my phone in the car and the unit's reception for FM radio is not good. Plus, it's an upgrade from the old one; i.e. iPod and mobile phone capability and most importantly - remote control!
Having a remote control for your car audio system is crucial if you like to skip through songs like I do - the 'next' button will wear out eventually and you've no other choice other than replacing the whole thing which is not cheap anyway. I reckon this new head unit will last me a good 5 years (overoptimistic perhaps?).
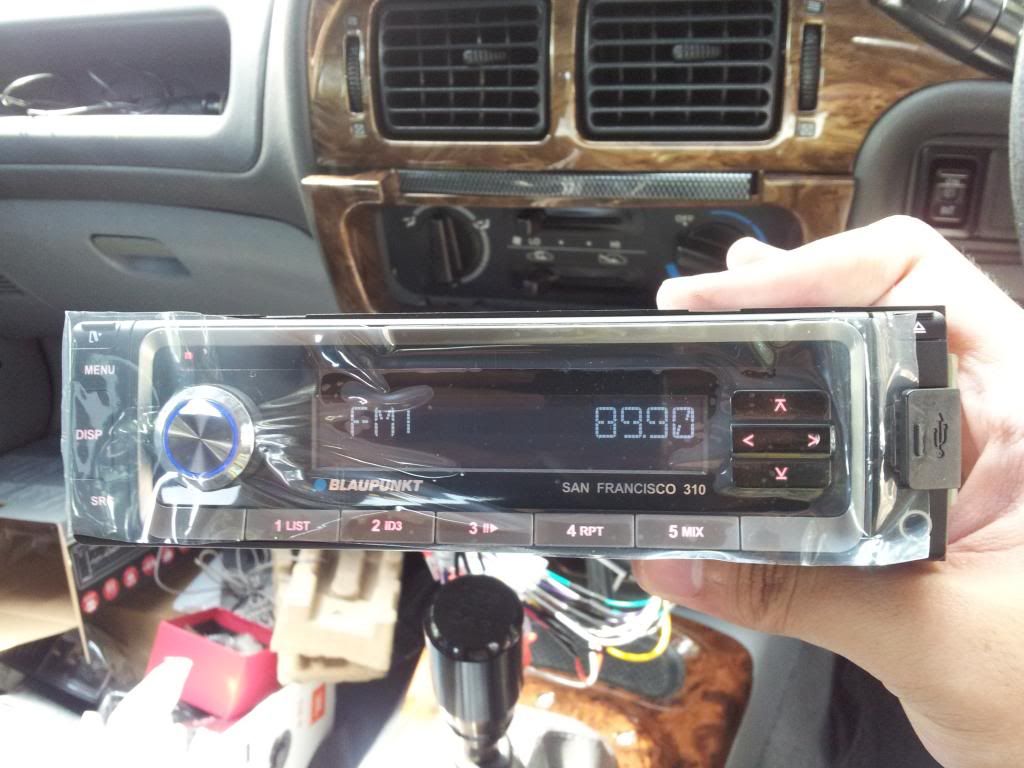
So I got myself a Blaupunkt San Francisco 310 for RM280, minus the labour fee of RM30 - which I did not pay for since I decided to diy it. The whole process is pretty straightforward actually.
Why Blaupunkt?
- Because my perception of the brand is good; being a German company [used to be a subsidiary of Bosch], plus my earphones that I got free last year was Blaupunkt (model Pure 111 Talk Earphones) and the sound reproduction and bass is very satisfying, not to mention the build quality of the product.
Moving on, here is the breakdown of things needed:
1. The head unit itself (HU)
2. Philip head screwdriver
3. Wire cutter
4. Electrical tape - recommended to use 3M brand
5. Pliers
6. Extraction tool - to extract the old head unit, usually consist of 2 pieces of metal to be inserted at the sides of the old head unit to be pulled together to do so.
7. Cable tie (optional)
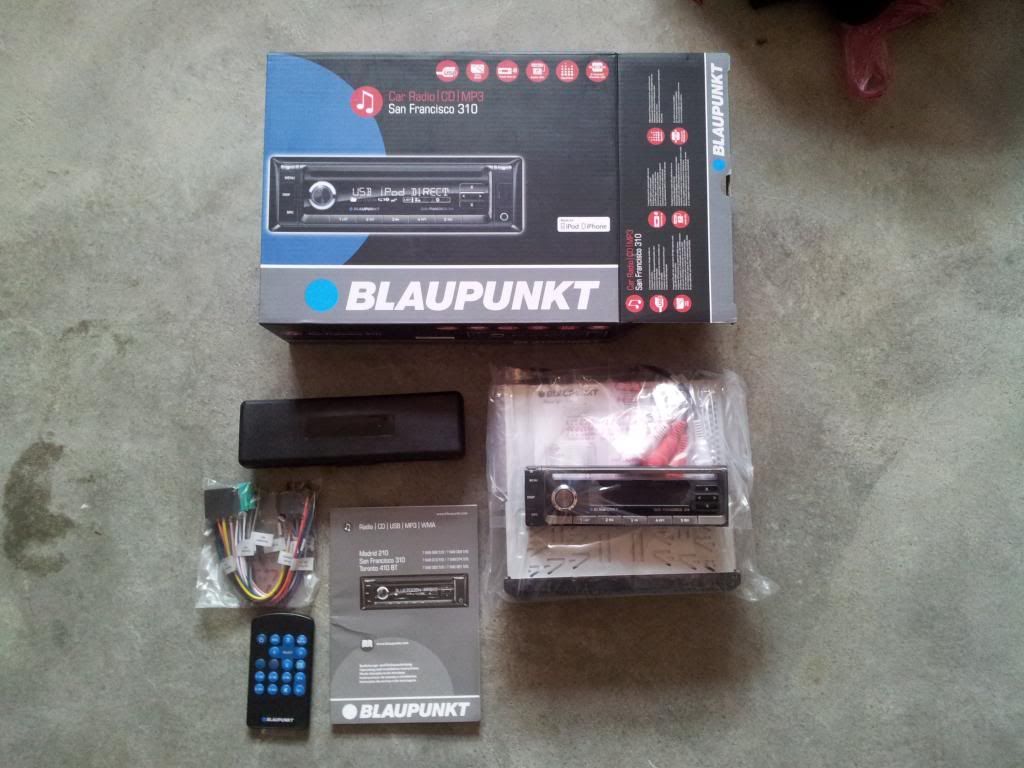
My new HU came with remote controls, extraction tools, screws, the head unit itself, detachable front face with casing, socket/adapters and the usual manual book and warranty card. Picture below:
Here's how you do it:
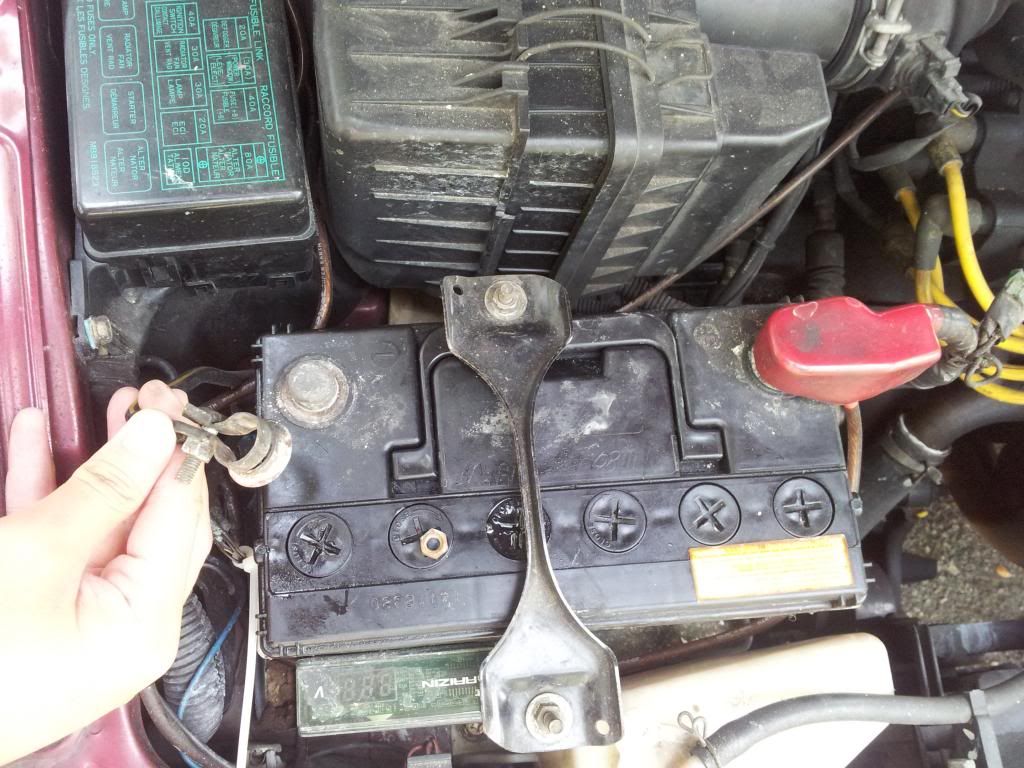
1. Remove the negative ( -ve ) battery terminal of your car, so that you won't fry your new HU or any other things in your car whilst wiring everything up.
**if you screw this step, you'll fry your HU and you'll be sad - hu hu hu huuuu.
K lawak hambar. -_-
2. Extract the old HU by inserting the 2 metal pieces at the sides. Pull it out gently. For Wira, it is recommended to unscrew the lower part of the dashboard to ease work later. The srewpoints are shown below.
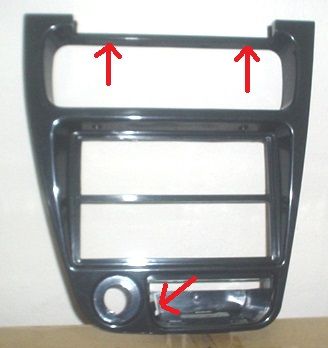 |
| Pic sourced from Google image. |
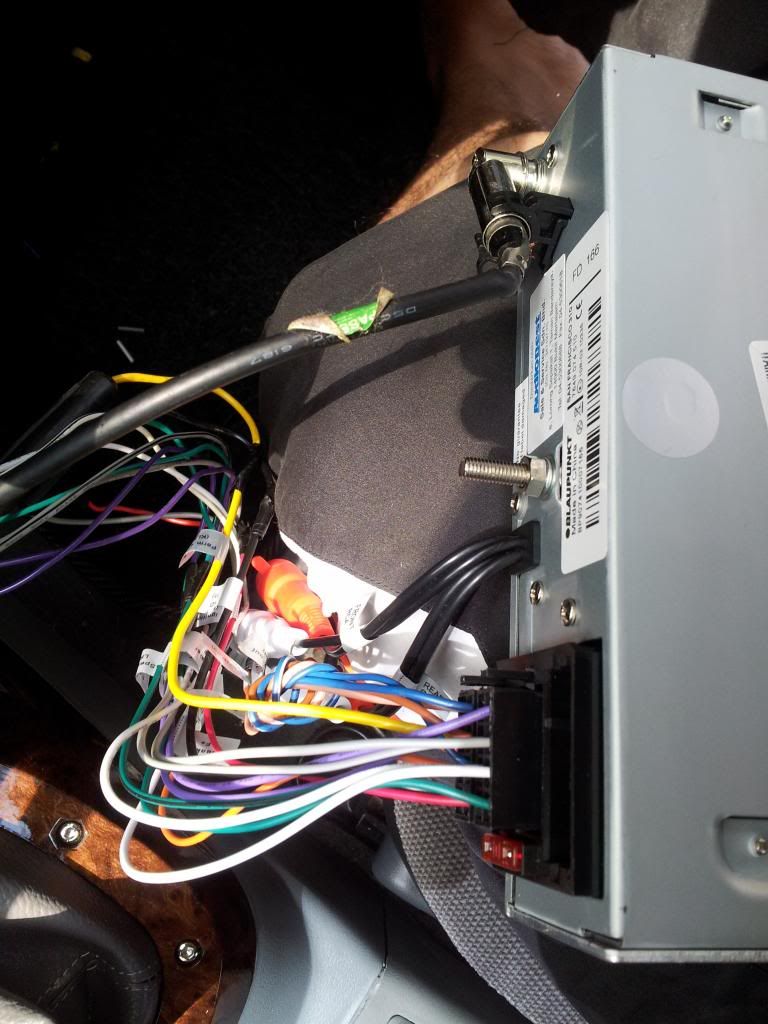
3. You'll next be presented with a bunch of wires. Now, don't be panic because most people will do. Gently pull out the adapter and the antenna for FM reception from the HU. Take pics if necessary. Flip the HU on the underside, and there'll be the wiring diagram for the old HU. Identify each wires and what they are for along with the polarity (+ve or -ve) so that you can transfer them each to the adapter for the new HU. I did so one-by-one so that I won't get confused. Actually, you can just cut them all at once then identify (recommended for pros only 
 |
| Red - needed only if you've a subwoofer system Green - the adapter which needs to be rewired to the new HU's adapter Yellow - the wire connects the HU to the FM antenna receiver |
 |
| The wiring diagram - cross check old and new HU's wiring. they might differ in colour. |
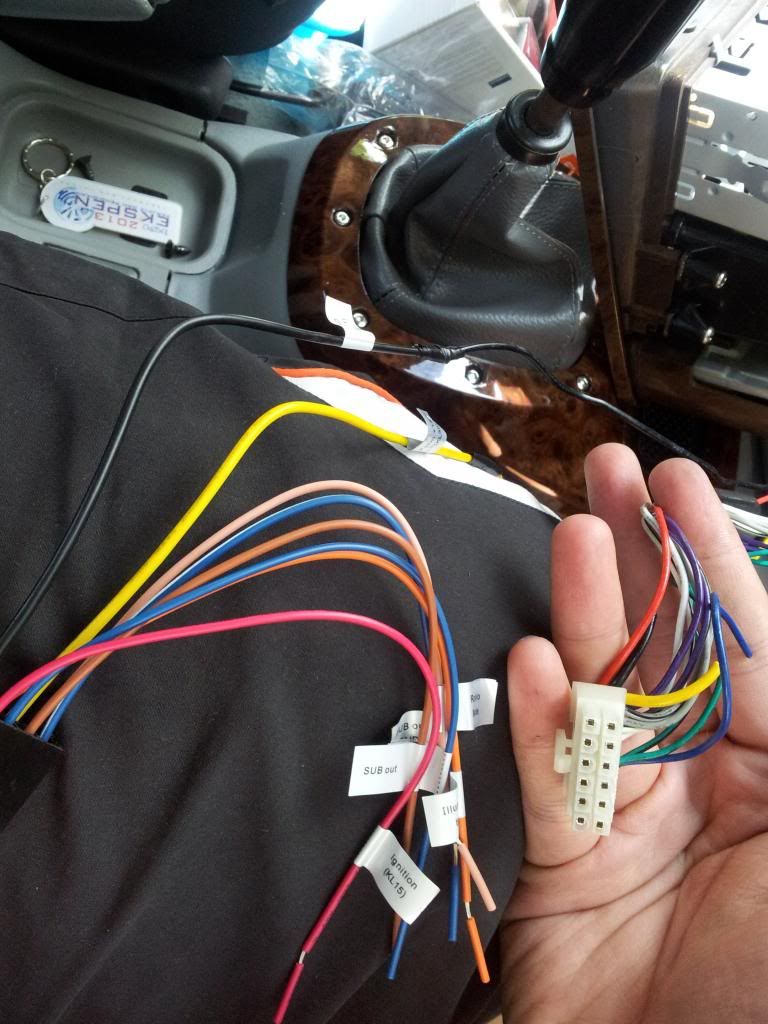 |
| Left - labeled new HU wires. Right - the old HU's adapter |
5. Don't forget to remove the old HU's sleeve and replace it with a new one. Pull out the dashboard frame after unscrewng it. Most car dashboard panels are can be popped out easily by pulling them albeit might need some force (but not too much!). Bend the pins on all sides to the dashboard frame to secure it in place, like so.
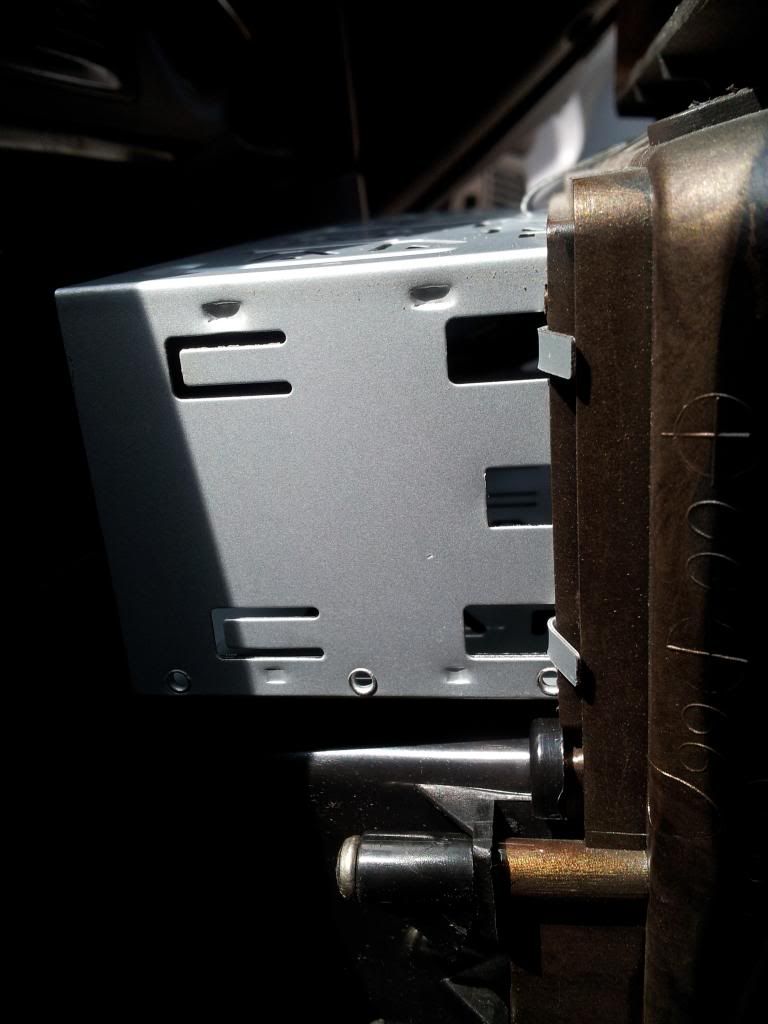 |
| Side view. Do the same for all sides, dorsal and ventral (top and bottom) |
* it is advisable to clean the antenna receiver's connectors to ensure a good reception-guna jari pun boleh!
 |
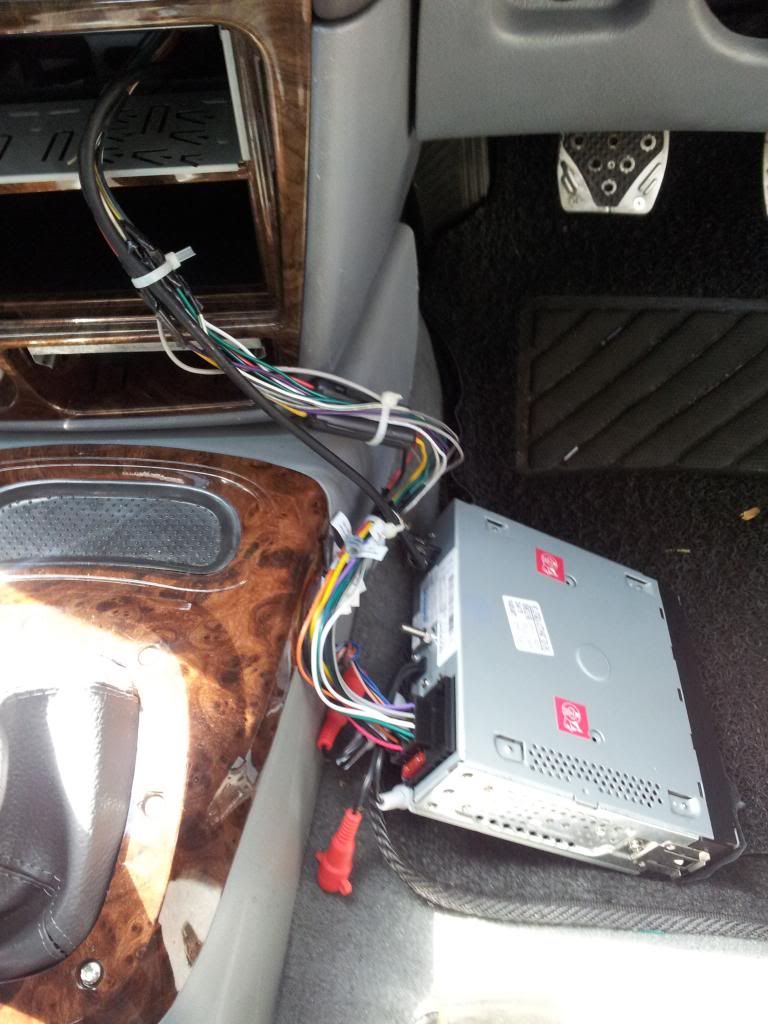
| Everything's in - adapters and FM antenna receiver. |
 |
| Make sure you test each feature the HU before finalising |
 |
| Cable ties - makes the wiring look neat! |
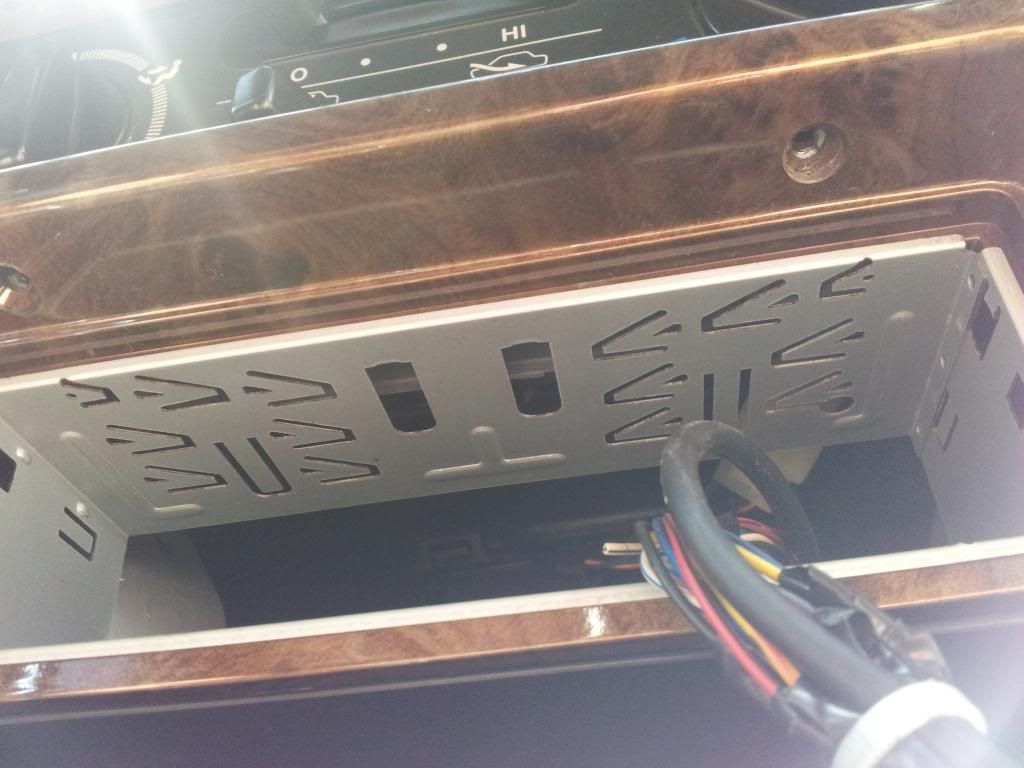 |
| For Wira's dashboard - don't forget to screw this back in before sliding the HU in it's slot. |
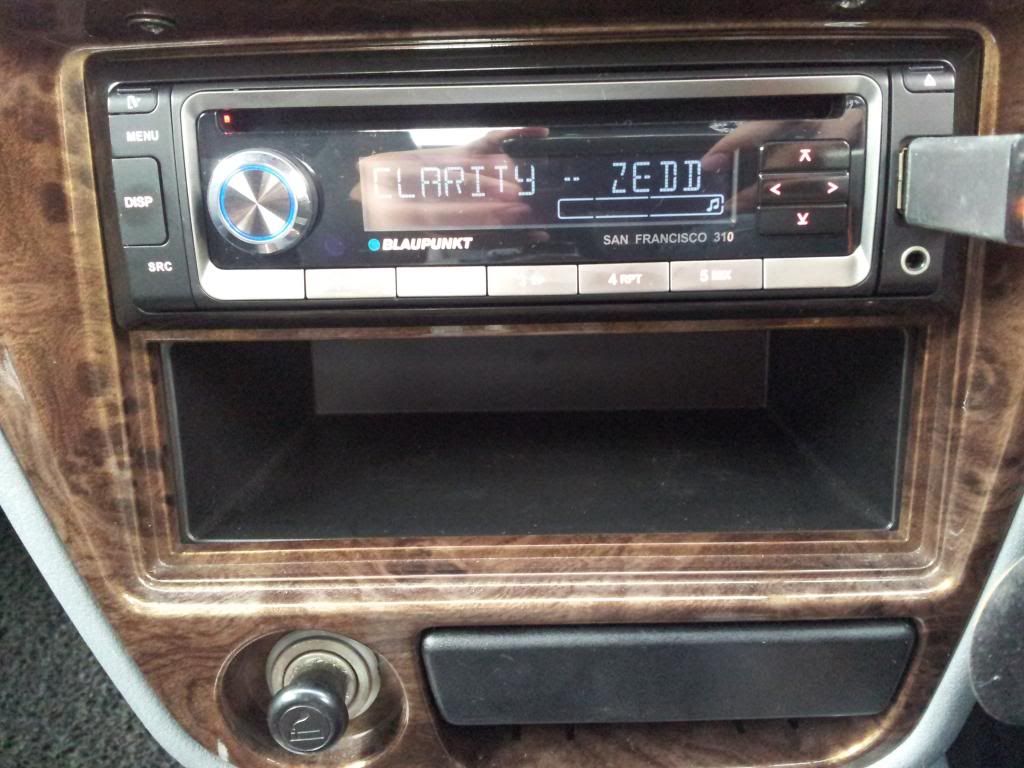 |
| Done! |
 |
| How it looks at night. Nice, eh? :D
8. Enjoy your new HU! Bask in the fact that you've saved yourself labour fees by doing this yourself, add to that the satisfied feeling of doing a diy project.
Happy DIY-ing!
Ends. Nota kaki: 1. Actually, the HU comes with a feature of auto-dimming the light when you switch on the light. The wire was to be tapped to any accessory light. I did so, but ended up burning a fuse. Made me panicked for a while. Went to the accessory shop where I bought the HU and got the fuse replaced, alang-alang I requested for them to check my wiring. They cut and secured the tapped wire so that in the future it won't blow the fuse again. 2. Grand total is RM285. RM5 for the fuse + wiring check by the accessory shop. Nevertheless, I saved RM30! 3. All these took one and a half-hour. Because I take my time to take pics for this entry. Hihi |
Macem..macem lah enko nie..
ReplyDeleteHehehe. Best la buat sendiri :D
ReplyDelete